

For most people, the term “troubleshooting” sounds relatively complicated, especially when it has to do with technology. But what people do not realize is that it is not as difficult as it sounds most times. Personally, troubleshooting is an adventurous and therapeutic experience for me as long as safety precautions are taken.
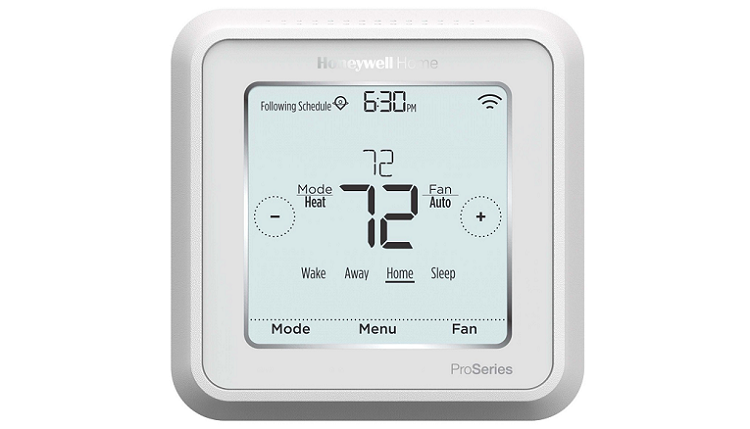
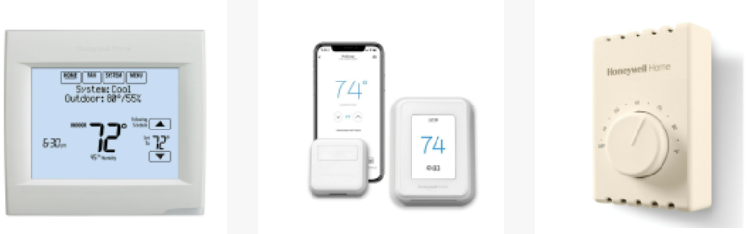
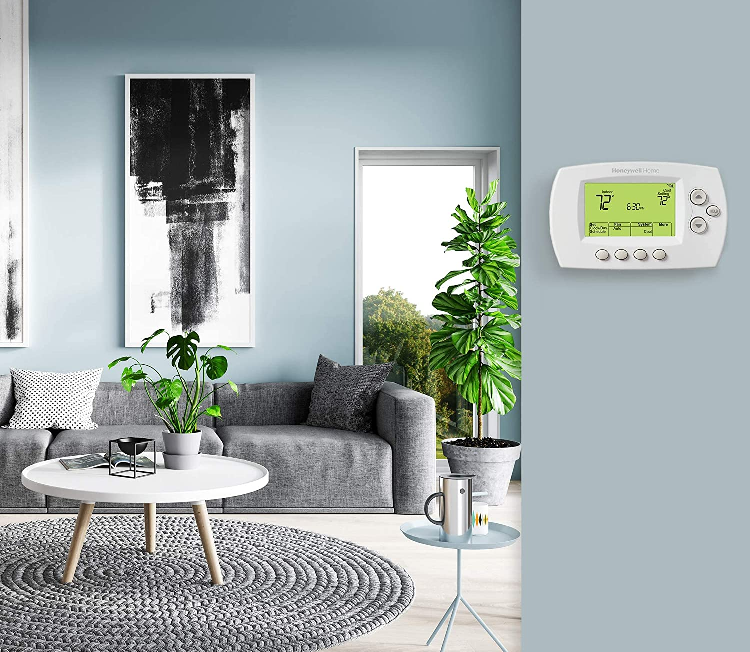
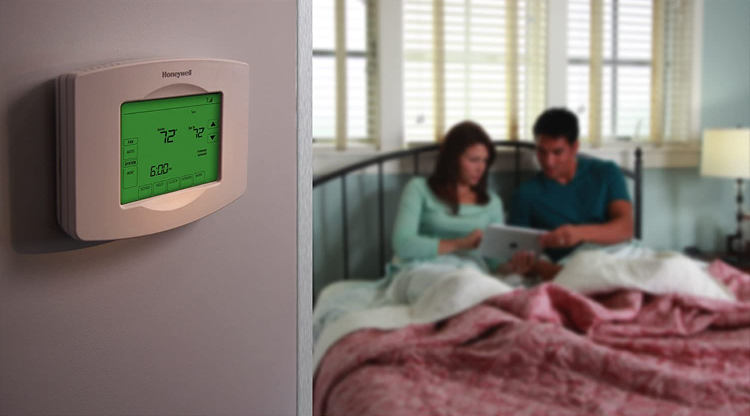
Honeywell thermostats are among the most effective and reliable HVAC systems available today. They have a pretty positive industry reputation, and many users testify to that.
Thermostats have a “cool on” indication message on them, which informs the user that the system is functioning to cool the area. Sadly, they do get faulty, and when they do, blinking on and off is one of the tell-tale signs.
Fortunately, troubleshooting a thermostat’s cool-on is also not complicated. You will see if you keep reading. Learning how to troubleshoot your thermostat will help you understand more how your thermostat works and how to maintain it. This article contains everything you need to know to troubleshoot your thermostat’s “cool on” feature.
What is a Thermostat?
Before going deep into the troubleshooting, I think it’s best we first understand what a thermostat is. How do you fix something if you don’t know what it is or how it works?
To keep it simple, a thermostat is a device component used to regulate the temperature of a heating system.
Thermostats detect temperature changes in a room and adjust accordingly. So, when you have set your thermostat to maintain the temperature at a certain level, it monitors and adjusts itself to the space’s temperature. When the temperature goes too high, it shuts the HVAC system down for a period of time and then turns it back on when it starts getting too cold.
How Does a Thermostat Work, and Where do You Find It?
We already know what a thermostat is and what it does, so how does it work?
The inner working of the thermostat is pretty straightforward. Like I said earlier, the job of a thermostat is to control and maintain an area’s temperature. When you set your system to remain at a specific temperature, it registers with the thermostat. So when the temperature gets too hot, the thermostat informs the switch to turn off and then turn back on when it cools down. It also does the same thing when the temperature gets too cold.
You might ask, “I get the thermostat tells the switch what and what not to do, but how is it able to do that?”
The thermostat has a couple of components that work together to achieve its goals.
Thermal Resistor
One of these components is a thermal resistor. The sole job of the thermal resistor is to resist the flow of electric current in the thermostat. The amount of current resisted by the thermal resistor depends on the current temperature of the space.
Computer Chip
The next component is the computer chip. The chip functions as the thermostat’s brain, working hand in hand with the thermal resistor.
The computer chip sends a small flow of electricity to one side of the thermal resistor and then measures how much comes out of the other side. This is how the computer chip detects the temperature of the room and, as a result, the light is turned on or off.
What is the “Cool On” Indicator, and What does it Do?

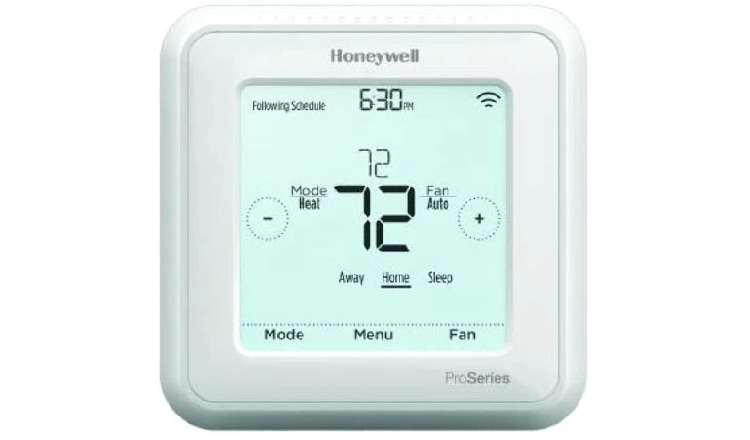
The “cool on” indicator is one of your thermostat’s system/operation modes. “Cool on” means cooling mode, and it alerts you when it begins working within your HVAC system, just like “Heat on.”
The thermostat’s “cool on” indicator also functions as a safety measure built into the system. You may have noticed that sometimes, the Honeywell thermostat flashes “cool on” for a short period. Some people might misunderstand this as a fault; however, it is not.
This routine is used to protect your compressor from damage. It gives your compressor about 5 minutes maximum to cycle its elements. You will also witness this if there is a power loss.
How to Troubleshoot a Blinking “Cool On” Indicator
A common problem your Honeywell thermostat cool may have, is blinking for too long or not blinking at all. Many users report this annoying problem.
Remember what I said that the Honeywell thermostat should flash for 5 minutes maximum? So, here’s the deal. If the “cool on” indicator blinks for more than 5 minutes, and you still don’t feel any air coming through the system, there is a problem, and you need to troubleshoot it.
To troubleshoot your thermostat’s “cool on,” follow each of the following steps. The steps are in order of increasing frequency and difficulty.
Step 1 – Set to Thermostat’s Lowest Temperature Setting
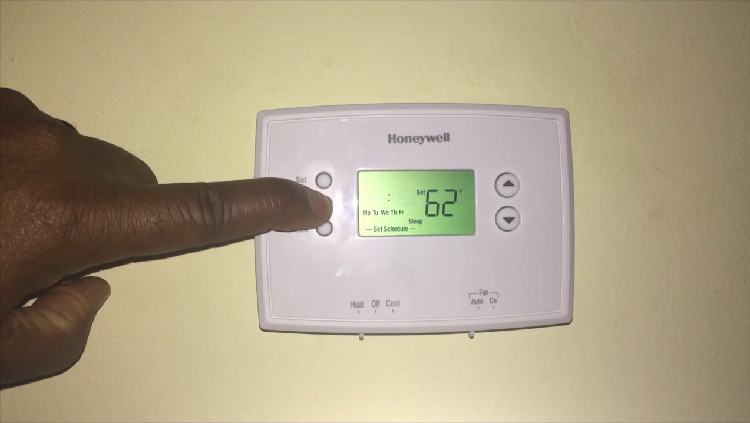
When troubleshooting your thermostat’s “cool on,” the best way to start is by setting the temperature at the lowest setting. Check to see whether the thermostat can control the temperature, and if not, try modifying the controller settings. Check to see if the thermostat is requesting cooling when you’re done.
- Set the thermostat to the lowest temperature possible.
- Ensure the fan setting is set to “auto” and the mode is set to “cool.”
- Allow it to sit for a time to observe if anything happens or if the temperature changes.
Step 2 – Check to See if the Thermostat or the Clock are Set
Your thermostat could go into setup mode if you had a recent power outage or no power for a while. This can cause the “cool on” indicator to keep blinking.
- So, if you did have a power outage, the first thing to do is check your settings.
- If the thermostat is on setup mode, you have to redo that. You can consult your Honeywell manual for this.
- Also, check the time on your thermostat; if it is off or not set, you can turn it back on.
Remember to check your settings carefully and ensure the configurations are correct. You can consult your manual for confirmation.
Step 3 – Examine the Thermostat’s Battery Supply
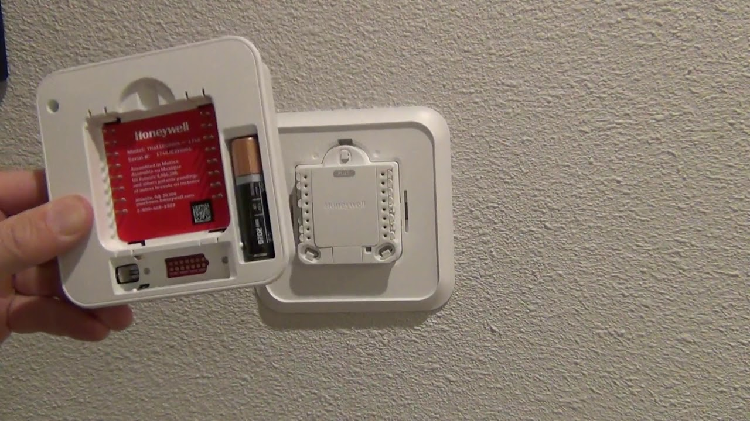
As we know, batteries are one of the essential parts of a device. Without them, the whole or parts of the system will not function. Because of how often people use them, they do not last very long. So, yes, there is a high chance that the problem with your thermostat “cool on” indicator is due to a faulty battery. The battery could be either dead or incorrectly installed.
Your thermostat will not be able to initiate cooling or heating if the battery setup is the problem.
- First, inspect your thermostat display for a low battery indicator. In a typical case, it usually takes about two months of power before your thermostat begins to display the low battery indicator.
- If you see the low battery indicator, replace the batteries and try again.
Step 4 – Check the 24VAC Wiring
Also, if your thermostat runs on 24VAC instead of batteries, you will have to check its wiring.
- To check the wiring; first, you will have to turn off the system.
- Now, unmount the thermostat and inspect the c-wire carefully. You might have to undo some screws before the thermostat can be detached completely.
- If you find any faults with the c-wire, such as burns or scratches, then there’s a high chance that is your problem all along. Fix it if you can, but if not, then consult a technician for professional assistance.
Step 5 – Check the Power Supply of the Air Handler/Fans, Furnace, and AC Power
If, at this point, you still haven’t been able to get through with the problem, then pay close attention to step 5.
Sometimes when the components or devices like the Air Handler/Fans, Furnace, or AC Power, are not getting enough power, it could cause your thermostat to malfunction. The shortage of power to components can affect the thermostat because it’s unable to detect the accurate amount of energy it needs.
The next thing to do is check the units to ensure nothing is wrong with the power supply. Please watch out for sounds like unusual humming or clicking noises when doing this. This can actually help us get to the root of the problem (or another entirely), faster cause than it’s easier to trace.
To check for power supply:
- First, turn off the whole HVAC system before you touch anything. Do not skip this sub-step.
- Take a look at your equipment’s power supplies, connectors, and sockets. I am referring specifically to the equipment which are connected to the thermostat.
- If the power supplies or any switches are plugged in incorrectly, properly plug them.
- And if the connectors are loose, tighten them.
- Next, check to see if the doors are closed. If they are not, close them. Also, make sure no objects are blocking or keeping the equipment from operating correctly. If you do find something, remove it. If there is nothing you can do about that, consult a trained professional for assistance.
- Now, check the circuit breaker for anything unusual.
- Lastly, check the fuses to see if any of them is blown. If they are, replace them if you can, and if you can’t, then contact a trained professional assistant.
Step 6 – Examine the Indoor Air Filter
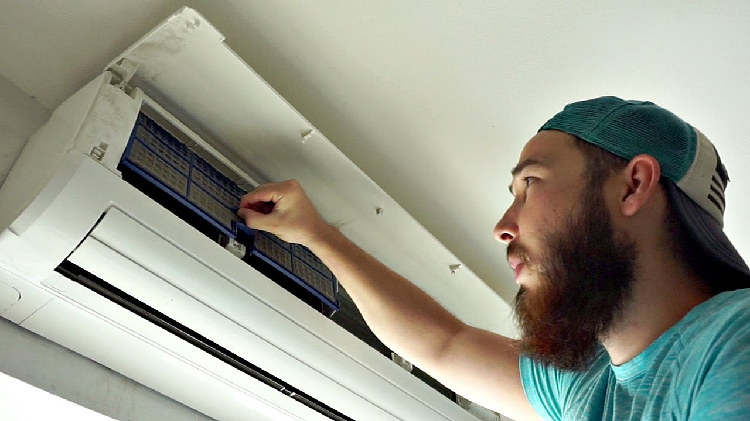
Suppose the indoor air filter of your system is faulty and requires changing it can affect the cooling in your home, even if everything else is fine.
When this happens, the air quality in your home will be affected, as well as your thermostat and HVAC equipment. Also, you will be paying more for power because the system is working as twice as it should to provide you with the desired temperature.
Check to see if your air filter is dirty or clogged and if it is, replace it. If you cannot replace it, contact a trained professional for assistance.
Typically, you are supposed to change the air filter every two to three months.
A dirty or clogged filter causes the AC unit to work harder than it should. It also puts it at potential risk of breaking down sooner and damages its components, thereby affecting the temperature. So, pay more attention to your air filters from now on.
Step 7 – Clean any Dirty AC Coils
The AC coil is similar to the air filter regarding the functions and maintenance. You also need to check for dirty and blocked external Ac coils like the air filters. The coil will gather dirt over months or years of operation, preventing optimal airflow. It won’t be as effective at absorbing heat and cooling the air as it once was.
- If there is a buildup on the fins of your AC unit’s coils, it has to be cleaned. Before cleaning the coil, make sure first to turn the device off.
- Clean the area surrounding the AC to help prevent it from clogging up. Also, to improve ventilation, give it considerable separation from surrounding objects such as plants or leaves.
Step 8 – Reset the Thermostat
If you have exhausted all of the solutions I gave above and still have no improvement, you need to reset your thermostat. By resetting the thermostat back to factory defaults, the system will return all of the original settings and configurations of the thermostat.
So, if the problem is an incorrect setting, it will be undone. I would advise you to take note of some necessary settings you might need; that way, you will not have any problems with that later.
Now, the steps for resetting your Honeywell thermostat depend entirely on the model. Before we begin, if yours is powered through c-wire, you have to turn it off first for safety reasons.
Honeywell thermostat has different models, and each of them has a few changes that are unique to them. Because of this, there is no general way of resting the Honeywell thermostat.
Which Honeywell Thermostat Model do You Have?
If you already know your Honeywell thermostat model, feel free to skip this step. However, if you do not, then this is for you.
Before attempting to reset your Honeywell thermostat, the first you need to know is to find out what model you have. And you can do that by simply finding your thermostat’s model number.
Typically, Honeywell thermostat models have their models number either on the front of the device, through a digital interface, or printed on a label at the back of the device. In some cases, you might need to remove the thermostat from the base plate in order to access your model number.
Here is how to remove the thermostat:
- First order of business, safety! To avoid being exposed to live wire, separate the circuit through the circuit breaker if the mains supply your house thermostat.
- Sometimes, the thermostat may remain on after turning off the power. This is because some models come with a battery backup. The battery has to be uninstalled.
- For some models, the batteries have a door guiding them. You can slide up the battery door to remove the batteries.
- If you cannot find any doors on your thermostat, your batteries are installed in the back of the faceplate. Carefully slide or pull the thermostat off the base plate. Please be cautious of the pins and clips when doing this to avoid damage. For some models, you might have to pull from the bottom of the device instead. So, you need to study your thermostat to know where you fit in and what you need to do.
- Now, once the batteries have been successfully removed, check the back of your device to see your model number and take note of it.
- Return your thermostat to its previous position by repositioning it onto the base plate.
Different Models of Honeywell Thermostat and How to Reset Them
I believe by now you know your model number, so the next step is to reset your thermostat. Below I have different Honeywell thermostat models and how to reset them, so find yours and follow the instructions carefully.
Before we get started, it’s essential to understand that resetting a thermostat is a standard approach; however, different models have different paths to take. Suppose your model includes a menu button, press (or press and hold) it for a few seconds to access reset, factory, or factory reset options. It is usually found under the preferences menu on some models.
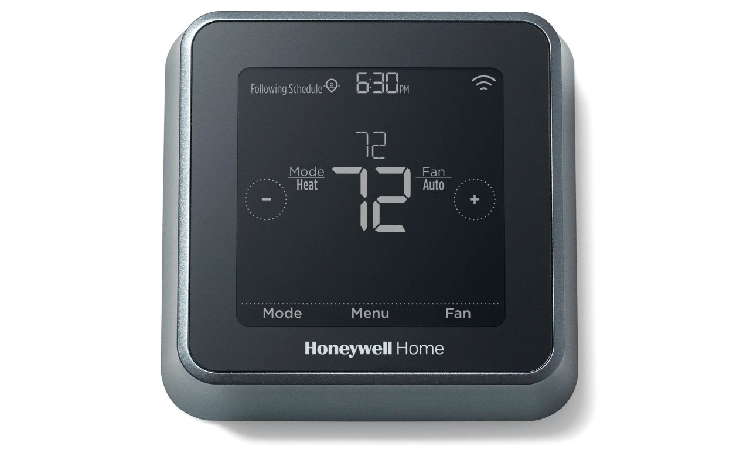
Honeywell T5+/ T5/ and T6 Models
If your Honeywell thermostat falls into the above category, this section is for you.
Here is how to factory reset your T5+ T5 and T6 Honeywell thermostat:
- First, make sure your device is turned on.
- Locate the menu button, and press and hold for at least seconds.
- You will see various commands on display; scroll to the left until you see the reset option.
- Then click select to view other options on that command.
- Navigate towards “Factory” and click on select again for the second time.
- You will see two options on the display now, “YES” and “NO” choose “YES” to launch.
- Once you’ve chosen yes, your device will restore all factory settings.
- Congratulations, you have successfully reset your Honeywell thermostat.
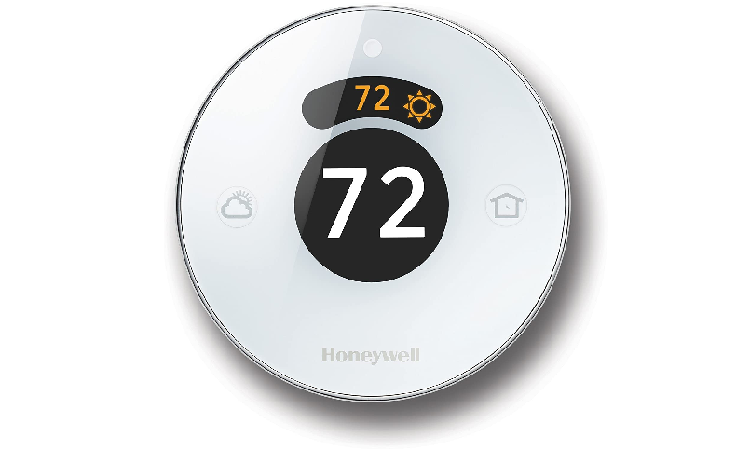
Honeywell Smart & Lyric Round Models
You’ve come to the right place if your Honeywell thermostat is this model. Resetting the Honeywell Smart & Lyric Round Models is straightforward compared to the others.
Below are some precise instructions on resetting each of the models.
For the Lyric T5
- On your screen, locate the menu button in the middle-bottom corner and select it.
- Once you hit the menu button, your device will show you different options with two arrows pointing in different directions. Air over either to the right or left until you find the reset button.
- When you find the reset button, select it.
- Scroll down until your find factory settings and click on it.
- Now, it would ask if you are sure or not; select “yes.”
- Your device will now reset.
For the Lyric Round
- Locate the weather button on your device, press, and hold for at least 5 to 10 seconds.
- Wait until the menu button appears, and when it does, click on it.
- Click on the menu button.
- Now scroll down until you find factory reset.
- Select “OK.”
- Now select “YES.”
- Your device will now reset.
For the Wi-Fi Smart Thermostat
- On the Wi-Fi smart thermostat, start with the menu button, just like on other devices. The menu button is at the top right corner of the display screen.
- Now scroll down to preferences, and select.
- Scroll down until you find the reset option and select it.
- Select factory settings.
- Finally, click yes.
- Your device will reset now.
Honeywell 6000 Wi-Fi Models
The Honeywell 9000 Wi-Fi models include thermostats with smart features and can be used with Wi-Fi. Resetting them is almost the same as the previous ones, only you have to take a different route this time.
Here is how:
Before we can reset these models, you have to make sure that your thermostat is connected to the WI-FI and your devices are linked.
- To begin, turn on your thermostat.
- Locate the “Fan” button on the face of your device and press and hold.
- Now, press and hold the “Up” arrow button.
- Wait for at least 5 to 10 seconds.
- On your screen, there should be two different numbers there. One on the right and the other on the left.
- For the number on the left, press the 4th button from the left on your device until it changes to 90.
- And now, press the “Up” arrow button for the number on the right until the digit turns into 1.
- Press Done.
- Congratulations! You have successfully reset your thermostat.
Honeywell 8320 & 8580 Wi-Fi Models
These models feature a 10-inch LCD screen and require four AA batteries to function, so if this is yours, then this is for you.
To reset your Honeywell 8320 & 8580 Wi-Fi Models.
- First, turn on your thermostat if it isn’t already on.
- Choose “system.”
- Press and hold the center button. The button is usually black.
- Now, wait for at least 5 seconds for the reset option to come up.
- Choose the “Reset Factory Settings.”
- Your device will now reset.
Honeywell 8321 Wi-Fi Models

If your model number corresponds with the model mentioned above, this is yours.
To reset your Honeywell 8321 Wi-Fi thermostat, follow the steps below.
- Locate the menu button and select it.
- Navigate towards the dealer information and choose it.
- Now, scroll to the bottom, and take note of the date you see there.
- Then select “Done.”
- Scroll down until you find the “Installer Option” and select it.
- Remember the date you wrote down from the dealer information; enter the date code at the installer option.
- Select Reset to default and press “Yes.”
- Your thermostat will now reset.
Honeywell T6 Z-Wave Models
This guide will show you how to use a Z-Wave Exclusion to reset your device and connect it to Samsung SmartThings.
Here is how to reset it:
- On the thermostat, choose “Menu.”
- Here, you see two arrows, right and left.
- Touch either of them until “Resets” appears, then select “Select.”
- Touch the button (right or left) until “Schedule” appears, then select “Select.”
- To confirm, press “Yes.”
Note: Remove the batteries and leave them out for up to an hour before re-installing if you have a blank screen.
Return your thermostat to its original settings or make any required modifications, such as the ones you noted, once it has been reset.
Consult the Manual if You Feel Lost
If you have tried every single option above and still have no improvement, you should consult your manual. It is possible that we missed something somewhere.
The manual could contain information that can assist you with your problems. The problem could also be unique to the model of your thermostat.
In addition, the cryptic messages on your thermostat’s display aren’t always helpful. But, for answers on frequently occurring difficulties, consult your handbook.
Contact a Trained Professional for Assistance
If you’ve gone through your manual and still can’t figure out why your thermostat’s “cool on” option isn’t working, then I think it’s time to bring in a trained professional to look at it.
There is a high chance you are missing something only a professional could easily see and fix. Things like: a damaged wire, faulty capacitor, a blown a fuse, system’s compressor, condenser, blocked sensor, or even the fan motor might also need an inspection. Most of these items require replacements which means new installations have to be made. All these could be more stressful for you than for a technician.
FAQs (Frequently Asked Questions)
Question: What does “Cool On” Mean?
Answer: This is an operation mode your thermostat controls when it reads “Cool On” on your thermostat display. When you read this cooling message, it means your air conditioner is working to circulate cool air around your home.
Question: Why is a “Cool On” Flashing on My Honeywell Thermostat?
Answer: First, confirm a request for cooling on the thermostat’s display, which is commonly signaled by the words “cool on” or a snowflake icon. The thermostat is in delay mode if the “cool on” or snowflake indicator is blinking, taking up to 5 minutes. This delay is in place to safeguard your equipment from being overworked.
Question: Why is my Air Conditioner Running But Not Cooling?
Answer: If your air conditioner isn’t cooling even when it’s turned on, it might be due to a clogged or obstructed coil. Unfortunately, a broad range of particles, including grass, mud, and other impurities, can make their way into this equipment. This can cause a significant blockage, which can cause the system to fail.
Question: How do I Know if my Thermostat is Bad?
Answer: First, your thermostat isn’t responding to your changes: As you adjust the temperature, it does not switch on your HVAC systems, and the display does not change when you touch buttons. Second, your air conditioner won’t turn on: Defects in the thermostat’s wiring might cause the signals it transmits to your HVAC system to be disrupted.
Question: Why isn’t My Air Conditioner Turning Off when the Temperature is Reached?
Answer: A bad thermostat can be the cause of this problem, but it also could:
• A frozen evaporator coils,
• A blocked air filter,
• A defective electrical relay switch that needs changing,
• The fan blowing repeatedly,
• Unclean condenser coils,
These are all possible causes for your air conditioning system to stay running and never seem to shut off.
Question: Why isn’t my Honeywell Thermostat Turning on the Air Conditioning?
Answer: If your Honeywell thermostat is not turning the air conditioner or other appliances, it could be a maintenance problem. Resetting your thermostat is the simplest solution. Other popular remedies include changing your Honeywell Thermostat’s batteries, inspecting your wiring, and cleaning the air filter.
Question: How do I Reset my Honeywell Thermostat “Cool On”?
Answer: Resetting your honey well thermostat is straightforward. All you need to do is find your Honeywell thermostat model number, go to the resetting section of this article, find your model there and follow the instructions step by step and you’re good to go.
Question: How do You Turn on the Air Conditioning on a Honeywell Thermostat?
Answer: It’s simple. When the fan is set to auto, it will only run when the heating or air conditioning system is turned on. However, when the fan is turned on, it runs indefinitely. Simply turn the dial clockwise to raise the temperature setting or counterclockwise to reduce the temperature setting to set the thermostat.
Question: What’s the Best Way to Get my Honeywell Thermostat to Work?
Answer: To test if it turns on, set the thermostat to heat and increase the temperature. Your heater is operational if it does. After that, set the thermostat to cool and the fan to automatic. Wait until you lower the temperature.
Question: How Can I Turn Off the Sleep Mode on my Honeywell Thermostat?
Answer: Remove the wireless keypad from sleep mode by pressing and holding the star key. The alarm panel receives a status request when the star key is pushed. If a K0991 AC Transformer powers them, they will not sleep.
Question: I don’t Have a Reset Button on my Honeywell Thermostat, so How Can I Reset It?
Answer: Quick access reset mode is available on Honeywell T5, T5+, and T6 series machines without the need for a button. A reset option will display if you press and hold the MENU button. Select the RESET option and press the OK button to confirm. It’s now time to reset your Honeywell T5, T5+, or T6 thermostat.
Question: What Does “Temporary” Mean on a Honeywell Thermostat?
Answer: When you alter the temperature setting to a different temperature, the temporary hold setting is used, and it stays at that temperature until the following schedule change. The permanent hold option keeps the temperature you’ve selected for an infinite period. This takes precedence over any previously stated schedules.
Final Thoughts
The thermostat is one of the essential appliances that work together to provide us with the temperature we desire. It can be pretty frustrating when your HVAC system stops working all of a sudden, especially when it’s not easy or convenient to get a technician.
The “Cool on” indicator on your Honeywell thermostat is an operation mode, just like the “Heat on” indicator. Your thermostat uses it to indicate when the cooling mode on your air conditioner (or other HVAC appliances) has been activated.
The “cool on” indicator is meant to remain stable until you change to a different model. When the “cool on” indicator blinks or flashes (for more than 5 minutes) without stopping, it means there is a fault somewhere. And when this happens, your appliance can no longer produce cool air in your home.
Sometimes when an appliance fails to perform as we expect it to, the problem could be really minor or at least fixable by you with the proper instructions. This article contains everything you need to know to troubleshoot your Honeywell thermostat’s “cool on.”
Final Note: When troubleshooting, you do not necessarily need always to get them right, as you can learn something you didn’t know about your device. This can also help you understand your device better and also avoid further problems in the future.
Sources:
- https://www.smarthomeperfected.com/honeywell-thermostat-cool-on-flashing/
- https://www.smarthomeperfected.com/how-to-reset-honeywell-thermostat/
- https://www.smarthomeperfected.com/honeywell-thermostat-manuals/
- https://jwheatingandair.com/blog/2020/hvac/how-does-a-thermostat-work/
- MERV 8 vs MERV 13 Explained: Which Should You Use and Why? - December 9, 2023
- Inducer Motor Guide: Warning Signs, Troubleshooting and Replacing - December 9, 2023
- Best HVAC Mold Inhibiter Solutions - November 22, 2022