

A house that is adequately insulated saves a lot of money on energy bills. Insulation means covering and surrounding something, using a material or a substance to prevent heat, sound, or electricity from escaping or entering a room.
This article helps you understand everything you need to know about insulation, how to choose the proper insulation and when or where to use faced and unfaced insulation in your home.
When your building is not insulated, air moves in and out of the building too quickly. The free in and out movement of air means that the Air Conditioner has to work more than it should to keep your home at the desired temperature. Working overtime means using a lot of power, potentially adding thousands of dollars to your energy bills.
Difference Between Faced vs Unfaced Insulation
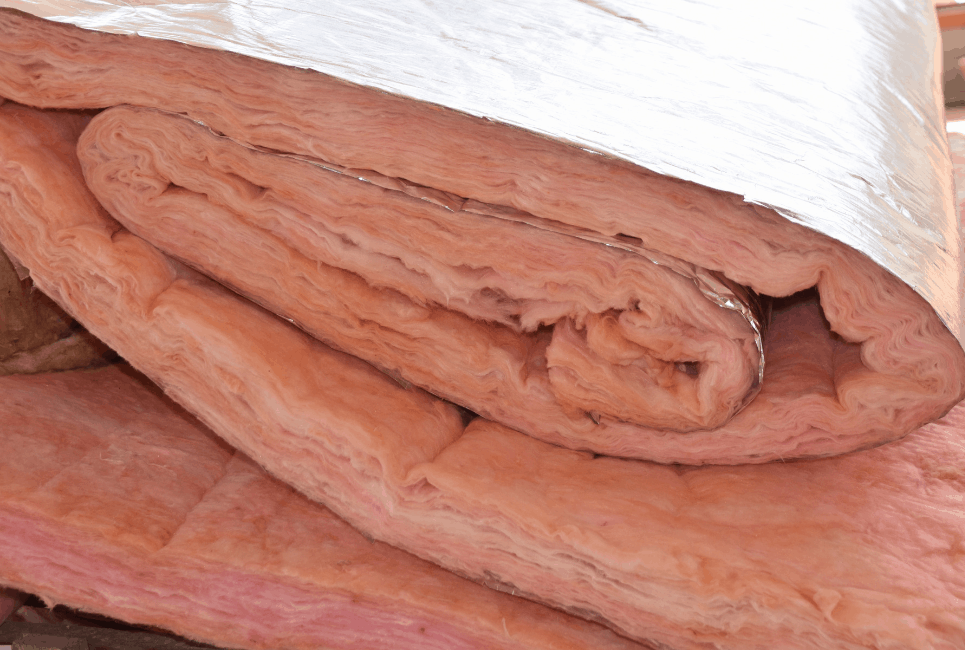
The only thing that visibly differentiates faced from unfaced insulation is a kraft paper attached to the faced insulation. Many of the insulation materials like the ones mentioned further down this article comes as faced.
The paper or retarder helps harden the insulation, making it waterproof and keep it from falling off as often. In terms of temperature regulation, unfaced insulation is just as effective as the faced; it just does not have the paper attached to it.
Faced and unfaced insulations are suitable for different areas of your house. For example, if you use faced insulation in areas meant for unfaced insulation, a problem occurs. The wrong placement of the insulation is one of the most common mistakes people make when insulating their homes. Read below to see where each insulation should go.
Faced Insulation
So what exactly is faced insulation?
Faced insulation can be used only in areas with the risk of getting wet or any moisture incident like the ceilings, walls, and floors. It keeps moisture out of your home through the wall.
When installing the faced insulation, the kraft paper must be facing the living space. For example, if you are installing it in the attic, the paper side of the insulation should be facing downwards.
Unfaced Insulation
But why do you also need unfaced insulation?
Well, unfaced insulation is used for the attic or between floors whenever living space is above and below.
Also, you can use unfaced insulation to add soundproof to the interior of your walls.
Why do you need Insulation?
When it comes to our homes, sometimes we are willing to spend a lot to achieve the level of comfort we want. Insulation plays a significant role in minimizing the amount we spend on our energy bills and still get the temperature we desire. It keeps your home warm during winter and cools it down during summer.
Helps you stay healthy
Good insulation help resist mildew, accumulated fungi, or mold from your home that you can get you sick. It is essential to have a safe indoor environment.
Minimizes noise level
Insulation is an excellent sound absorber; it helps reduce sound transmission across the walls of your home.
It makes your house comfortable
A well-insulated house brings comfort and happiness to its inhabitants by helping maintain your desired temperature all year round. It keeps the walls inside your home warm in the winter and cools in the summer—all while using less energy.
Reduces energy costs
Insulation is one of those investments that benefit you long after the installation. It saves both energy and money.
Which one is cheaper, faced or unfaced insulation?
Typically, the price of insulation determines by four factors:
- The R-value.
- The specific insulation material.
- The area of the home you want to insulate.
- The geographic location of your home.
But, Faced insulation is only slightly more expensive than unfaced insulation.
Insulation Materials
Wouldn’t you hate to spend a lot of money on insulation that doesn’t do all it should for you? Or a material that is not environmentally friendly?
Just before going entirely into faced and unfaced insulation, let’s first understand where it comes from.
There are so many types of insulation materials used to control heat flow in our homes. Today, there are plenty of cheap and common insulation materials available. All of them have their advantages and disadvantages, so we recommend that you conduct proper research or consult a trained professional before making any decisions as to which is best suitable for your house.
Many of these materials have been around for thousands of years. This article only covers the five most common insulation materials we use today.
Five most common Insulation materials
When you are ready to insulate your home, the choice of material really matters. Some materials are better than others in the level of temperature regulations. While others, if not handled properly, can cause you some health problems. So, before you choose insulation materials, read below very carefully.
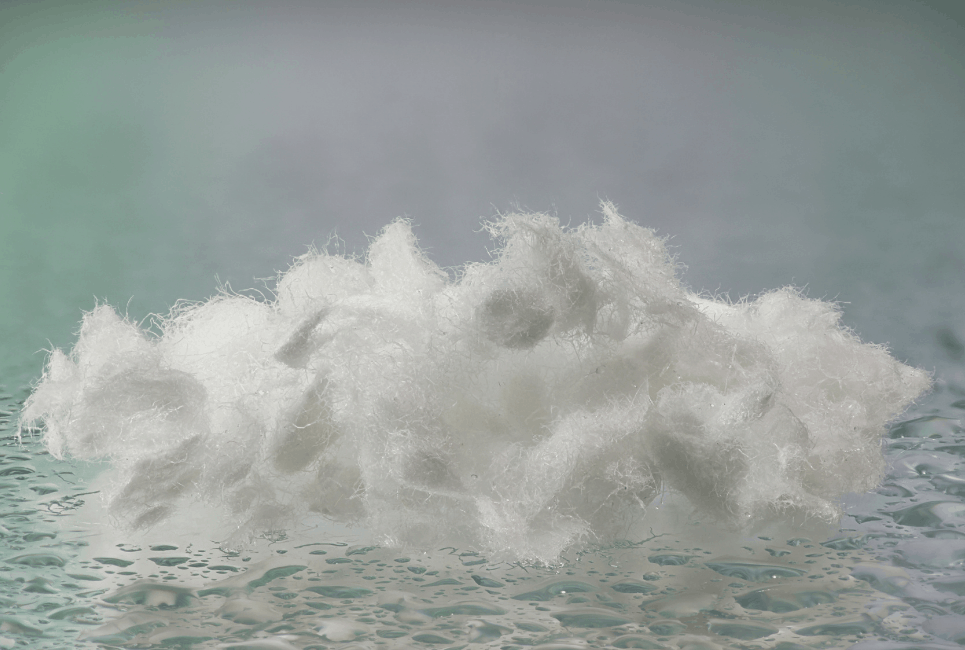
Fiberglass
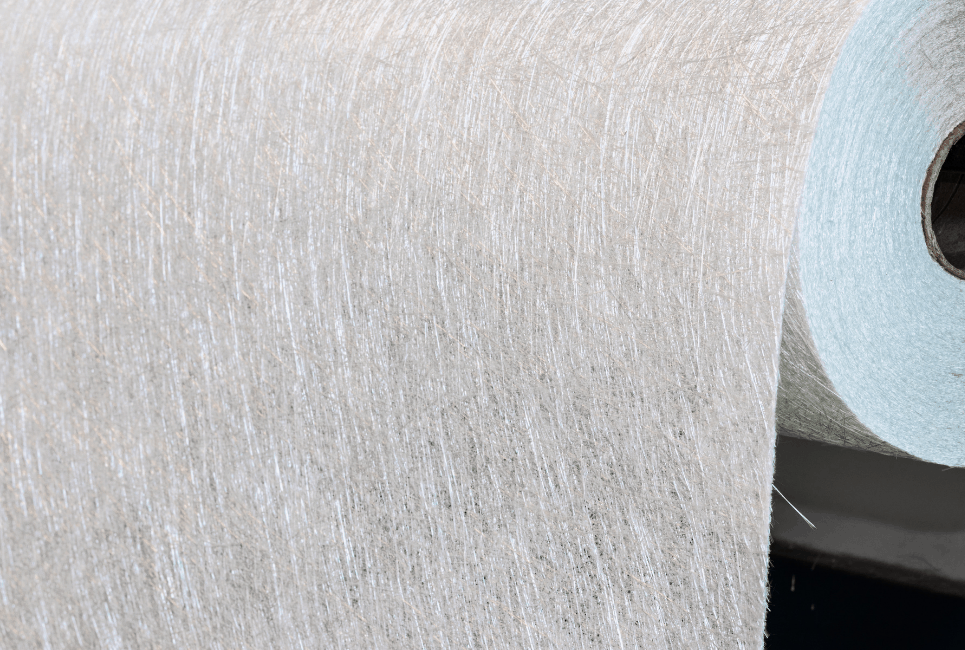
Fiberglass is one of the most commonly used insulating materials in modern times. It is made from ready-woven silicone.
Because it is made from strands of glass, it can minimize heat transfer. Fiberglass is sold in batts and loose-fill.
The R-values of fiberglass ranges from R-2.9 to R-3.8 per inch. The R-value of a material is the thermal resistance of a material.
The higher the R-value of a material, the higher the insulation effectiveness of the material.
Pros:
- Non-flammable – Its capacity to minimize heat transfer also enables it to resist fire.
- Affordable – Fiberglass is one of the best options if you are looking for cheap insulation material.
- Highly Effective – Not only is fiberglass affordable, but it has also proven to be a highly efficient material.
Cons:
- Dangerous to Handle – Because fiberglass is made from woven silicone, it forms glass powder and tiny fragments, making it dangerous to handle. If you do not wear the proper safety equipment, the glass fragments from the material can cause damage to the eyes, lungs, and skin.
Note: Make sure to wear eye protection, masks, and gloves before beginning installation.
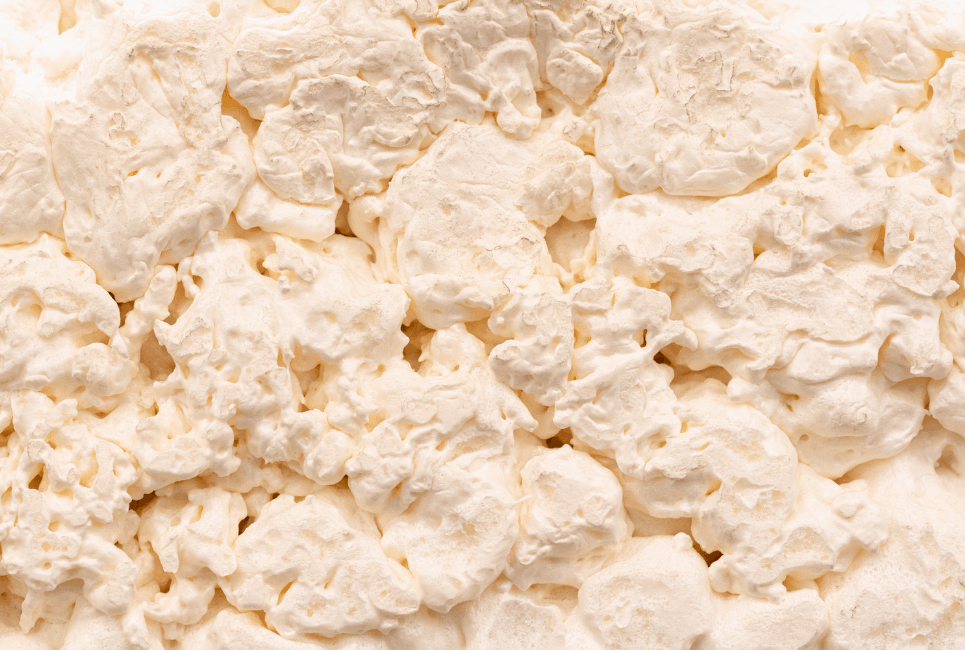
Mineral Wool
Just like fiberglass, mineral wool is fiber insulation but made from fiber instead of glass. It is one of the oldest insulation materials used in North America and Europe.
Mineral wool comes in two types:
- Rock wool, which is made up of natural stone fiber like basalt or diabase, and;
- Slag wool consists of fibers made from iron-ore waste.
Mineral wool is sold in batts and loose-fill, just like fiberglass.
Most mineral wools are not fire-resistant, which makes them poor for use in extreme heat situations.
It has an R-value ranging from R-2.8 to R-3.5. So, it is a bit less effective than fiberglass.
Pros:
- Moisture Resistant – Mineral wool is naturally moisture resistant. It retains its insulating qualities even when wet.
- Soundproof – Mineral wool effectively blocks sound, so the interior of a building suffers less from acoustic invasion.
- Fire Resistant – The insulation actively slows down fire enough to buy the fire service time.
Cons:
- Requires Safety Gear – When installing mineral wool, you must wear safety gear.
- Harmful – Inhaled mineral wool fragments irritate the alveoli and can cause lung disease or cancer.
Cellulose
Cellulose is one of the most eco-friendly insulations. It is made from recycled newspapers, cardboard, and other familiar materials in our daily life use.
Cellulose contains almost no oxygen. The absence of oxygen helps reduce the amount of damage a fire can cause.
Its R-value ranges from R-3.1 to R-3.7. On average, it is slightly better than fiberglass and mineral wool in terms of effectiveness.
Pros:
- Harmless – It is relatively fire-resistant and doesn’t contain harsh materials that affect health.
- Eco-Friendly – Cellulose is the most eco-friendly insulation material because it is made from recycled material.
- Cheap – It is one of the most affordable insulation because it is made from recycled material.
Cons:
- Complicated Installation – Installing cellulose can be pretty complex.
- Allergies – This can cause reactions for some people allergic to newspaper materials.
Polyurethane Foam
Although polyurethane foam is not the most common, it is an excellent form of insulation. Today, polyurethane foams use chlorofluorocarbon-free gas as a blowing agent, which helps to reduce the amount of damage done to the ozone layer.
The R-value of polyurethane foam is R-6.3.
Pros:
- Lasts Long: Polyurethane insulation does not break down easily. With a proper installation, it can last the lifetime of your home.
- Highly Efficient: It permanently blocks air leakage, dust, and pollutants from coming in or out.
Cons:
- Expensive: Because of the quality, Polyurethane insulation is costly. It is three times the price of fiberglass.
- Not easy to install: The installation of this insulation requires a trained professional.
Polystyrene
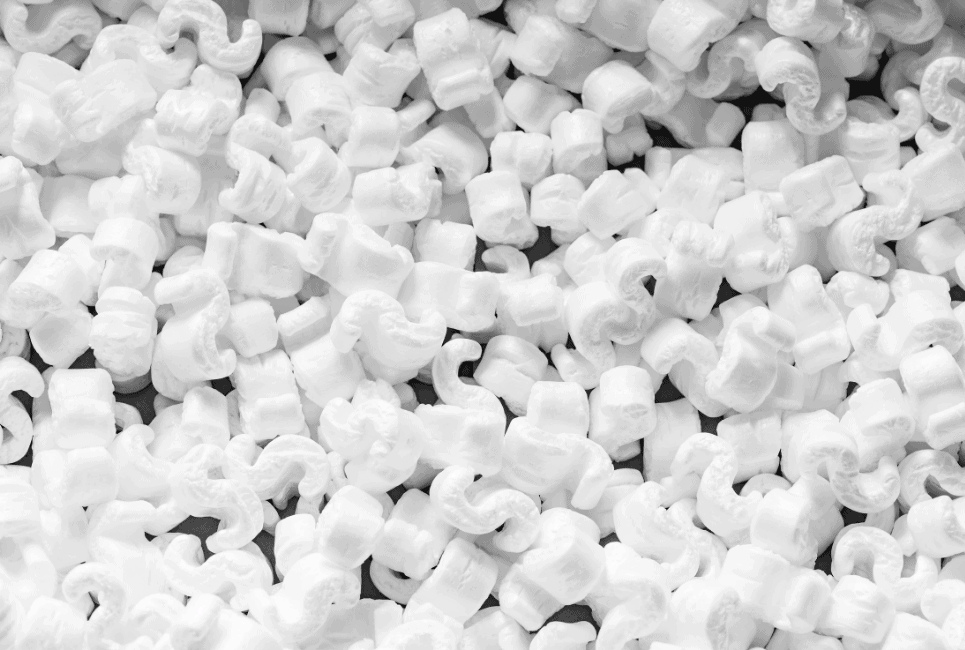
Polystyrene is a waterproof thermoplastic foam and an excellent sound and temperature insulation material.
Polystyrene has a smooth surface which no other types of insulation have. The board-like configuration of the material prevents it from sagging and falling off over time. That fact helps prevent hot and cold spots in any exterior wall.
There are two types of Polystyrene:
- Expanded (EPS), and,
- Extruded (XEPS) or Styrofoam.
The difference between the two are price and effectiveness. XEPS which is the most expensive, has an R-value of R-5.5 while EPS only has 4. So, overall the XEPS is better.
Pros:
- Easy installation – It is easy to cut and install.
- Lightweight – The light weight contributes to the easy installation.
- Less Harmful – This material causes less bodily irritation.
Cons:
- Not Fire Resistant – Because it is a foam, it is highly flammable and has to be coated with the chemical called Hexabromocyclododecane (HBCD) for fireproofing.
How does Insulation work?
Both faced and unfaced insulation materials are put into the wall cavity to control heat transfer.
The restrictions and resistance of heat transfer in our homes are conducted through different mediums, and they are:
- Conduction
- Convection
- Radiation
Conduction
Heat transfer by conduction is how heat moves through a material by effectively passing along from one molecule to another. It takes place in gases, liquids, or solids.
Heat transfer by conduction is the heat transferred through physical contact. Heat effectively moves from one a physical surface like drywall and the ceiling out of the house.
The fabric of a material determines its ability to conduct heat. Using a low conductivity gas in insulation rather than just air further helps to reduce conduction.
Convection
Heat transfer by convection means heat loss by air movement. A good example of heat loss by convection is how a fan or an air furnace heats the air to warm up all the rooms in your home. Heat travels much faster through air movement.
When the molecule that makes up a gas or liquid heat up, their density will change, warmer air will become less dense and rise.
Convection can only take place in gas and liquid. Closed-cell insulation with small sizes inhibits convection within the cell, making them less prone to affecting a neighboring cell.
Radiation
Radiation is heat transfer across space from one body to another as energy from a source.
Good examples would be the sun, heat from the burner, and visible light from the candle. The heat from these sources does not reach us by conduction or convection because one, the air is poor conduction, and two, it does not move in all directions.
Radiation enables heat to travel through the air.
Radiation can occur in gasses, liquids, solids, and vacuums.
The rate of heat transfer through radiation is controlled by:
- The difference in temperature of surfaces;
- The distance between these surfaces; and,
- Emissivity of the services. Emissivity is how shiny a surface is, in order words, its ability to reflect thermal radiation. A good example would be a low emissivity foil facing an insulation panel or board.
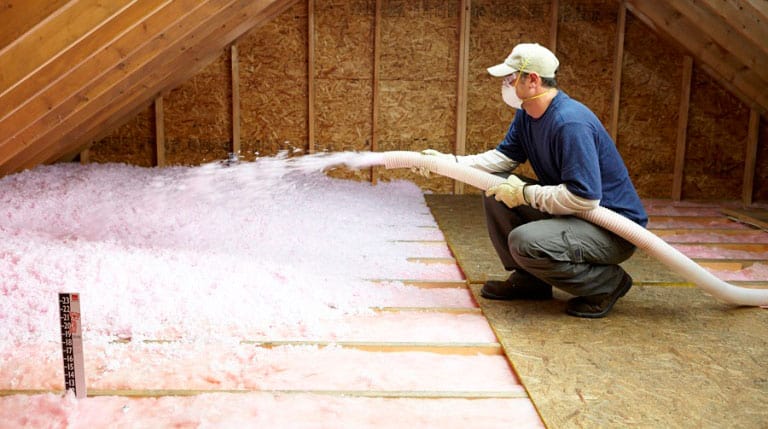
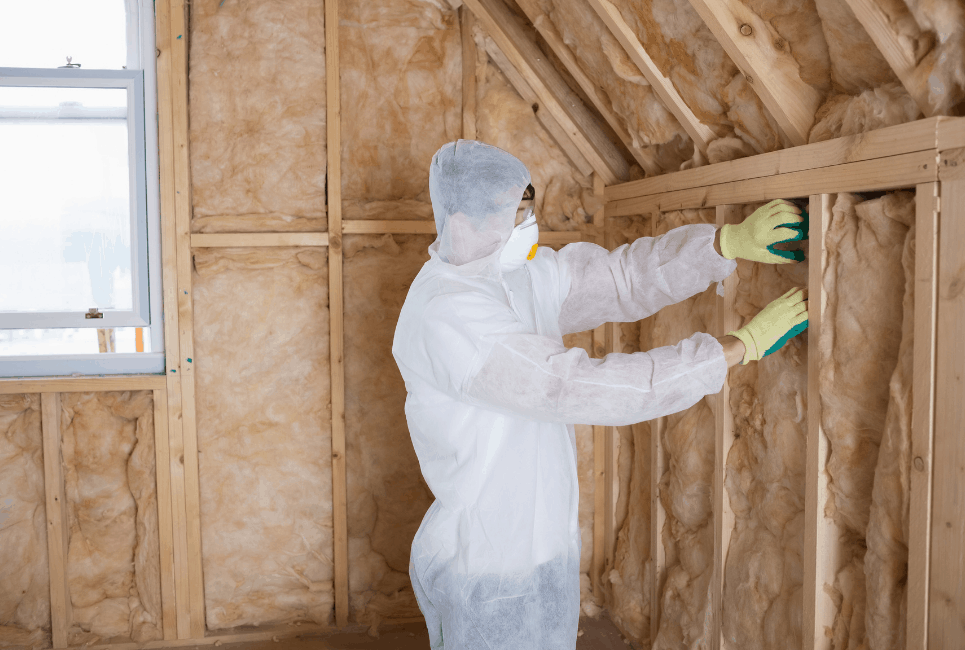
How to Install Insulation in your home
The process of insulating your wall can go very smoothly with a few instructions. Below are a few steps you need to follow to insulate your home successfully:
Tool needed for this process
- Hand gloves
- Protective eyewear
- Long-sleeved shirt
- Utility knife for cutting the insulation
- Cardboard to cut the insulation on
- 2×4 piece of wood to hold down the insulation when cutting
- Paper ruler or tape measure
- Staple gun and staples
- Screwdriver
- Canned foam
Things to know before beginning installation:
- First, figure out how many batts or rolls of insulation you need for your house.
- Confirm the recommended R-value you need for your house for proper insulation.
- Make sure to buy the correct R-values for your wall.
Installation procedure
How to get started with both faced and unfaced material
- First, measure your wall cavity to ensure the height and the width are the same as your insulation.
- If you need to trim the insulation, cut it using a utility knife. You can do this by holding down the insulation with a piece of wood and cut out the edges to fit your wall’s measurement.
- If the wall cavity is narrower than your insulation, cut it down the center for a good fit.
How to install faced Insulation
- For faced insulations, the paper side should be facing you. Make sure you push it to the end of the wall cavity and tuck the edges in properly.
- Tiny pockets in the insulation prevent the heat and cold from moving through the wall. Try not to compress the insulation when putting it in the wall. Tiny pockets in the insulation prevent the heat and cold from moving through the wall. You don’t want to lose those pockets because it will lower your material’s insulating power or R-value.
- Grab your staple gun. The faced insulation has an overhanding paper piece that you have to staple onto the framing to hold the insulation.
- Staple the extra overhanding paper onto the wall. Make sure to place your staples about 8 inches apart and do not leave too many gaps in the paper; do not stretch the paper too tightly to avoid tears.
How to install unfaced Insulation
- You can install unfaced insulation the same way; the above principles and procedures still apply; it just does not require stapling because friction helps hold it onto the wall.
Wrapping up the Installation for both
- After stapling (faced insulation) or inserting (unfaced insulation), check it properly to make sure there are no openings you might have missed.
- If you find gaps or openings, use a screwdriver, and push a piece of the insulation into the space to cover correctly; try not to overstuff the insulation.
- Finally, carefully apply canned foam insulation over the stuffed in the arear to seal the patch.
Congratulations! You have successfully insulated your home.
Note: Should there be any complications, or you have questions, do not hesitate to get in touch with your dealer for advice.
FAQs (Frequently Asked Questions)
Question: What is Facing?
Answer: Facing is usually kraft paper or plastic attached to insulation material to control moisture and mold.
Question: Do I need a vapor retarder?
Answer: You only need vapor retarder when you are working with unfaced insulation for the interior walls. However, if you are trying to insulate the ceilings, walls, or floors, you should get Faced insulation to avoid the trouble.
Question: When should I use unfaced insulation?
Answer: You can use unfaced insulation on the walls, floors, ceilings, basements, and attic.
Question: Which R-value is best?
Answer: You need different R-values for different parts of your home, depending on where you want to insulate. R-13 to R-23 is recommended for the exterior wall, and for the interior areas, R-30 to R-49 works best.
Conclusion
By adequately insulating your home, you are potentially saving a lot of money on energy bills while providing your home with quality comfort in the long run.
This article covers everything you need to know about insulation, faced and unfaced insulation, the difference between faced and unfaced insulation, where or when to use faced insulation, how insulation works, different types of insulation, how to install insulation, and the costs.
Remember, faced insulation is for the exterior areas, and unfaced insulation is for interior areas.
Sources
- MERV 8 vs MERV 13 Explained: Which Should You Use and Why? - December 9, 2023
- Inducer Motor Guide: Warning Signs, Troubleshooting and Replacing - December 9, 2023
- Best HVAC Mold Inhibiter Solutions - November 22, 2022